
Lots of people have posted tool lists online, describing what a starting kit should be for a beginner. However, I have been doing woodworking all of my life (69 years). I jumped into handtool woodworking about 40 years ago immediately following a table saw accident. There was a moment of infinite clarity as my fingers on the right hand were pulled through the blade. I realized that I had no idea what it truly meant to be working with wood. I joined a woodworking program at NC State Univ. and have been the better for it ever since. Now I am needing to put together a tool kit that will allow me to do the things I love, but in a place far away from my shop.
My wife’s family has a house in the Catskill Mountains of New York, and we have decided to retreat there for 6 weeks every summer. Last year was the first year of that. I wound up repairing every chair in the house, plus all of the dressers, etc. And this with no tools on hand, except the dross available at Lowe’s, and using the deck railing as my bench. Never again.
The house is pretty special. They call it a “cottage”, but it actually has 3 floors. It was built in the 1880s by DeeDee’s great, great aunt. Everything is original in it (hardware, woodwork, glass, etc.), with some repairs over the years. The house is located on a rock cliff and has an immediate drop of 30 feet off the deck, continuing on down to the creek. The aunt was a member of an intentional community that formed in NYC, bought land on the cliffs overhanding the Kaaterskill Creek, and all built houses up there. Our house is at the very crest of the Kaaterskill Notch. From our deck, you look straight down the creek gorge, through the Notch, out across the Hudson River Valley and all the way across to the Berkshires in Mass. The view is spectacular and I am pretty sure it adds a year to my life every time I gaze out. This view is the same one which members of the Hudson River School struggled up the mountains 200 years ago to memorialize. Every view they painted is within 10 miles of our house.
I teach handtool woodworking at the Woodwright’s School in Pittsboro, NC (www.woodwrightschool.com), so I have a lot of tools that I have acquired for student use in my classes. My goal in the Catskills is to continue to work on the needs of the house, and maybe repair stuff for the neighbors (gratis), and possibly teach myself some new skills (caning, for example). Also, just having my tools around me is peaceful.
I have a bench, inspired by Chris Schwarz’s Ruobo bench. I made it out of heavy poplar, able to be knocked apart so I could carry it to demonstrations. It is not large, but adequate for my needs. I added two antique leg vices to it (both on the same face of the bench). Over the years the bench has become a bit wobbly. Ed Lebetkin has had it up in his tool store above Roy’s school for maybe 10 years (my main bench was made in 1983 as my first substantial handtool woodworking project post-accident). When I get the Ruobo bench up to the mountains, I think I will pin it together to stabilize it. I do not think it will travel again. I have numerous workbench fixtures to enhance the bench’s (or my) performance. Some of these were inspired by Chris’ book Ingenious Mechanicks (www.lostartpress.com), which is a fantastic read.
I have a small tool box I will take up to the Catskills. This is one Roy and I teach a workshop on. It was designed to be wide enough (17”) to hold a pair of backsaws, tall enough to hold average chisels (12”), and deep enough to hold 4 planes (jack, smoother, fillester, block and shoulder planes, 12 ½”). There is a chisel rack along the front edge, a saw till on the bottom inside back edge, and two trays (one 2” deep for layout tools, one 4” deep for marking tools). The height under the trays was dictated by the height of the tallest plane in the box. Peter Ross made the hardware. Fully loaded, my joinery chest weights 60 lbs.—all that I can lift! I have 4 of these in my shop, each dedicated to a function (joinery, saw sharpening, making molding planes, making handcut moldings). My main tool box (immovable essentially) is a modification of Chris’s Anarchist Tool Chest. That chest goes with me to the retirement home someday (hopefully never!).
I am breaking down the tools into groups, in no particular order, with some discourse as I feel necessary.
Chisels
- A set of Marples blue plastic handled chisels. These are excellent chisels, you can find complete sets on EBay for a reasonable price. I bought many of these when I was teaching on my own.
- Two dovetail chisels (¼”and ½”). These are Marples chisels modified in the last inch to have no bevel edge. Generally the bevel edge chisels are too thick on the edges for my tastes.
- Two mortise chisels (English style OBMC, ¼” and 5/16”).
- Two sash mortise chisels (1/8” and ¼”). These are very long tools, but strong in cross section. They make very good paring chisels, plus great for tight spots.
Saws
- A pair of closed handle backsaws. One filed rip and one filed cross. Each 12 ppi (you only need 5-6 teeth in the wood at any given time). These are 15” OAL to fit in my tool box.
- Tenon saw. 4” X14” plate, closed handle, brass backed, 10 ppi.
- Gents saw. This is a small inline handle backed rip saw that I use for small dovetails.
- Coping saw. Eclipse brand. Do not pay $100 for a coping saw!
- Bowsaw. Can’t resist it! I teach a workshop on making a Howarth Bowsaw, but I would not necessarily call this a must-have. I have a 12” bowsaw, the web is ¼” wide, 10 ppi, filed with a hint of crosscut.
- Hand and Panel saws. A pair of walnut handled saws that I made in one of Tom Calisto’s saw making workshops. Both are based on the saws in the Seaton tool chest, plates are 22” long, filed 7 ppi for the rip, and 9 ppi for the crosscut. Also a 20” saw, filed 12 ppi crosscut, and finally a 28” saw filed 5 ½ ppi rip.
Layout and Measuring Tools
- Mortise gauge. Screw adjust for the points, screwdriver for the fence. Spring for it! Otherwise you are doing two things with one operation, sort of like solving a quadratic equation!
- Cutting gauge. You get such a better result with a knife cutter rather than a point. You can sharpen a point style gauge to be more like a knife and this is a good thing to do.
- Winding sticks. A wooden pair, beech and ebony, with ebony centerpoints. One subject of my Workbench Fixtures workshop.
- Straight edge. Wooden, 36” long, based on Chris Schwarz’s design..
- Bevel gauge. Stanley No. 17, with the locking mechanism on the heel of the gauge.
- Marking knife. Spearpoint at one end and an awl at the end of the handle. Made by Peter Ross.
- Dividers. Two pairs, 4“and 6”. These are Starrett screw adjust. However, in my work at the School and in my shop I use Peter Ross’s pressure-adjust dividers, modeled on 17th c. examples. I use these for dovetail layout and also for simple circle-based decorations.
- Awl. I have a separate Blue Spruce awl, as well as the combo tool that Peter made for me.
- Squares. Three squares will be useful, one for joinery layout (about 2” in the bar) and one for stock layout (8” in the bar) and finally a larger one (14” in the bar) for more substantial work.
- Combination Square. The 4” is a good size. I like these for use as depth gauges, testing mortises, etc. I will bring one with a miter and a square head.
- Rules. Zig-Zag folding rule.
- Circle plastic template.
Planes
(choosing planes is like choosing which child you will keep!)
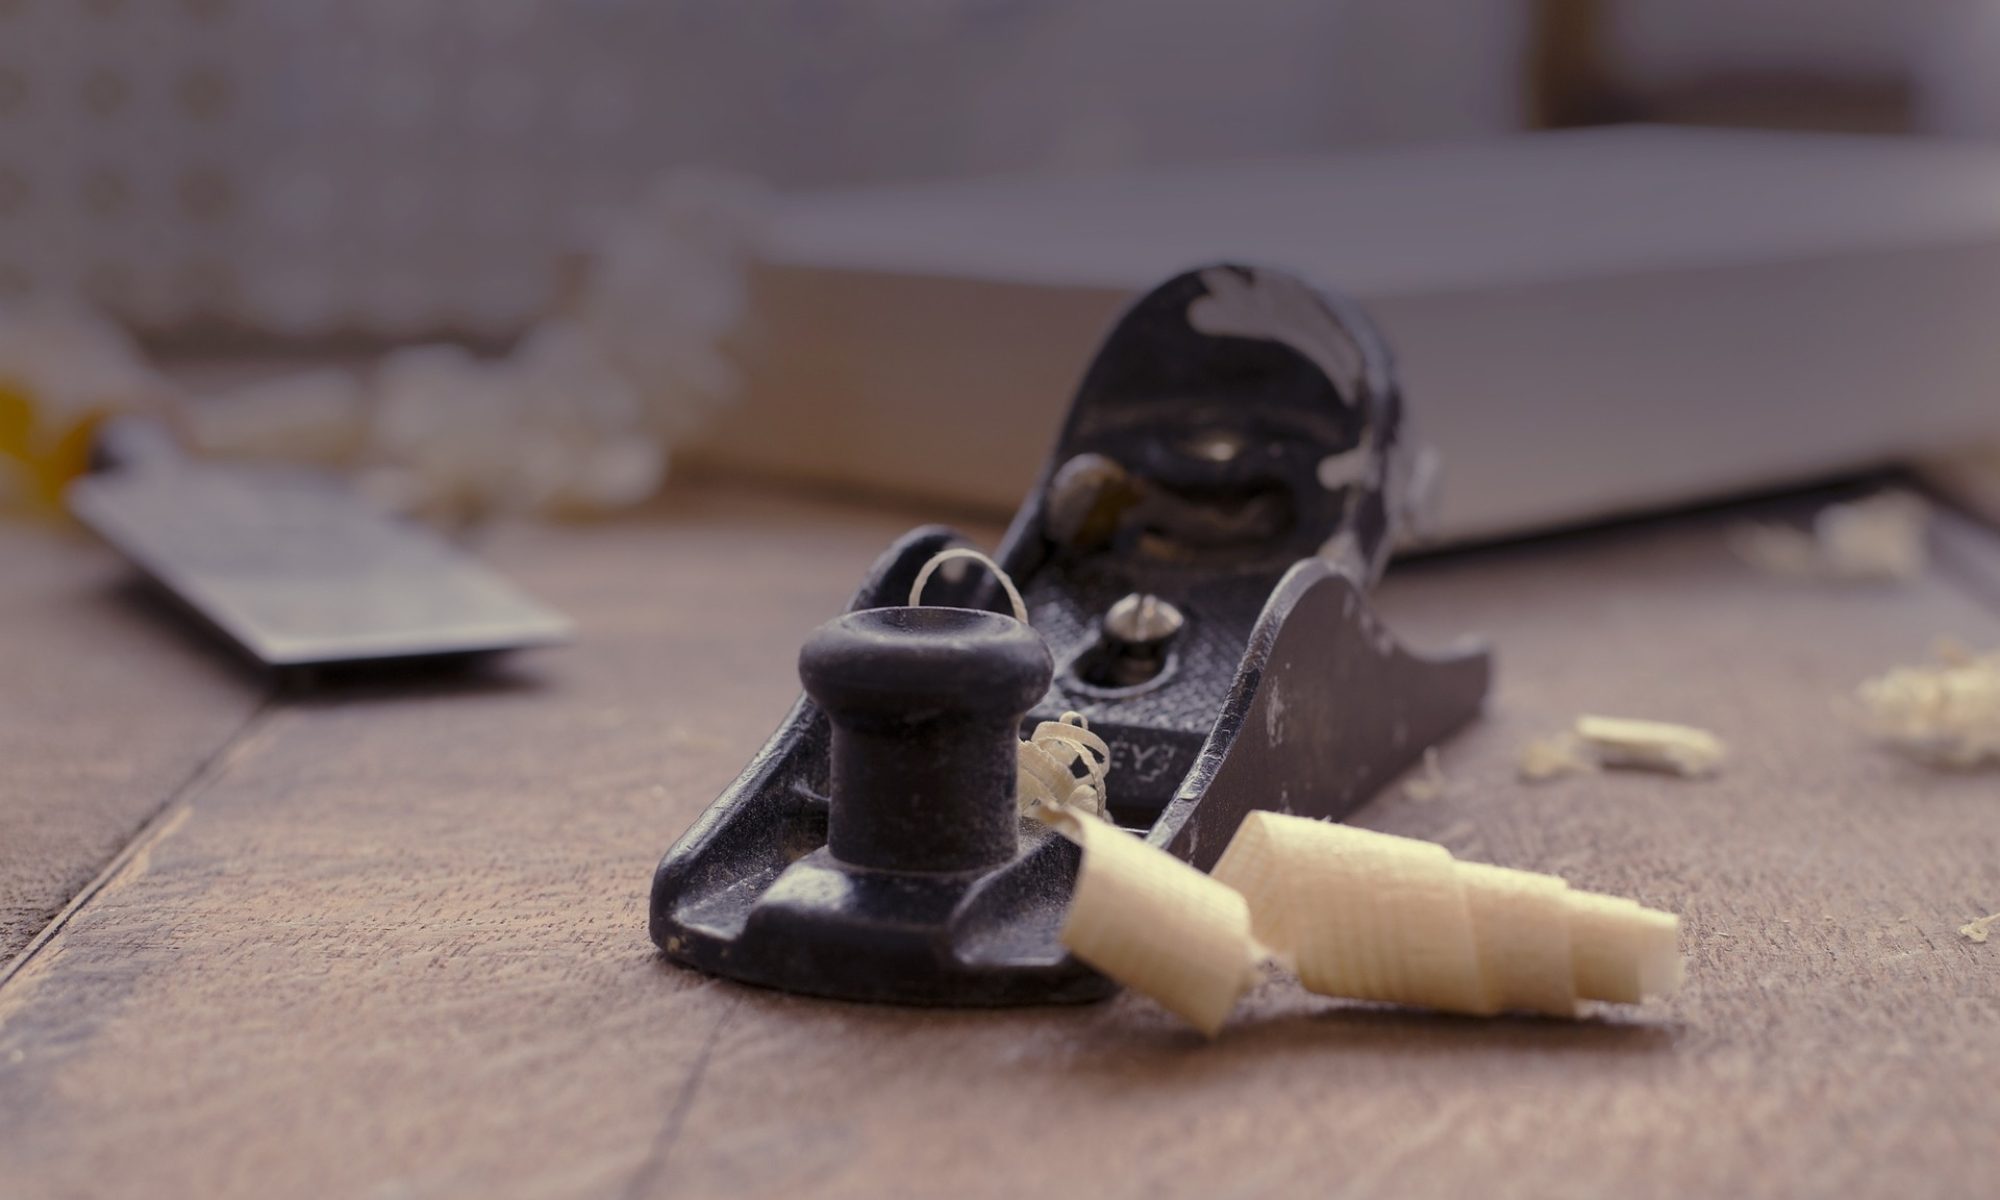
- Block plane. I have a number of these, and I chose the Lie-Nielsen low angle plane, with the iron sharpened square across. Look for adjustable mouth planes with a low bed angle. I tell my students that the best solution as a first plane of this type is possibly a low angle rabbet block, as it will serve two functions.
- Jack plane. This is a No. 5 plane with an easily visible camber on the iron. I have no idea of the curvature of the camber, but it is less than a scrub plane and more than a jointer plane.
- Jointer plane. Any plane, finely set, with very modest camber will be a good plane. The length of the plane varies depending on the length of wood you are working. I generally like to use a plane that is ½ to 1/3 the length of the stock for jointing. That means something from No. 4 to No. 7. In this case, I think I will bring a No.7.
- Smoothing plane. Stanley 4 ½. I like the heaviness of the plane. The camber is as slight as I can make it. Remember that the camber you look at is considerably more than you will get when the iron is mounted on the bed.
- Plow plane. I have a number of screw arm plow planes, and they are definitely romantic. However, the Stanley 248 is ideal for quick and dirty. It comes with a set of cutters up to 3/8” wide and will cut a groove 3/8” deep. That pretty much covers 99% of the need for a plow. Plus it has nothing off the right cheek, which means you can plow right up to a detail if you are doing handcut molding.
- Moving fillester. I tell my students that if you buy a jack plane or a saw, this does not cut you out of the herd. However, if you buy a moving fillester, a plane with only one single function, you are definitely slipping over to the other side! Look for a plane as wide as possible, with a boxed corner, a wedged nicker, and a screw adjust depth stop.
- Tongue and Groove. Not a necessity, but you never know when these might come in handy. More than likely I would use this for the back of a cabinet, thus a pair cutting on ½” thick stock would be useful. For this reason, I might choose a Stanley 49 (centered on stock 3/8” thick but covering from ¼” to ½”).
- Shoulder plane. I use these to clean up fillets on molded profiles, and in blocking out handcut moldings. I have two of the medium sized screw adjust Lie-Nielsen planes, so I will bring one of those.
Wooden Planes
- Hollow and Round pairs. A good series is Nos. 2, 3,4, 5, 6, 7 and 8. That pretty much covers cabinet work.
- Side Rabbet. A matched pair, good for tweaking the widths of grooves.
- Side Round pair. Side rounds are most comply based of the curvature of a No. 10 round plane and are useful for handcut molding operations.
- Beading. 1/8” and ¼” pretty much covers the cabinet range.
- Ogee. The smallest profiles are the best for cabinet work. ½” wide, maybe 3/8” deep.
- Ovolo. Quarter round outside curve, about 3/8” square.
- Cove. Small coves are not that easy to find. Again 3/8” or ½”.
- Thumbnail. This is a plane I made in my molding plane workshop, with a 3/8” radius of curvature and a small fillet at the top. Useful for the edges of table tops and desks.
- Rabbet. I like a ¾’ wide square rabbet, easier to start from scratch than the skewed versions.
- Table joint pair. Not exactly a necessity, but I have done research on this category of plane, plus I teach a workshop on making a pair of these, so I guess I need to have a pair. Note that although manufacturers sold a complete size range, the planes most commonly seen on the market are ones with a 5/8” diameter of curvature, which pretty much covers stock from 5/8” to 7/8” thick.
Sharpening
- Saw sharpening vise. No. 2 Wentworth, with 12” jaws. This is the model for the TFWW saw vise.
- Saw files and universal handle. A file to match each of the saws I am bringing, plus a cast iron filigreed tool handle.
- Saw jointer. A cast iron tool holding a 6” smooth file.
- Saw set. A Disston plier’s grip type set, with the punch filed down a bit to accommodate back saw teeth.
- Oil stones. You need stones for grinding, shaping and honing. These needs are met4 with a pair of coarse and a medium India stones (I stay away from combination stones) and a fine translucent white Arkansas stone
- Slip stones. I have two shaped India slipstones, one fine and one coarse. I also have a set of coarse/medium/fine slipstone sticks with a variety of cross sections (square, triangular, round, oval, knife edge). Mostly these are for sharpening molding plane irons.
- Flattening Stone. I am bringing my extra extra coarse diamond stone which I use to flatten my other stones. This I will carry back and forth to the Catskills as it is quite expensive.
- Honing oil. I got this oil from Dan’s whetstones website, but am now making my own honing oil from mineral oil, paraffin oil and a bit of SDS (detergent).
- Hand grinder. This hand grinder has a 8”wheel, and is fitted with a Vertias grinder tool rest. The whole is mounted on a wooden platform that can be fixed ion my bench on one of the leg vises.
- Wheel dresser. A little t-shaped dresser to dressing stone on my hand grinder.
- Burnisher. For my scrapers.
Miscellaneous Tools
- Mallet. Joinery type
- Router. A Stanley 71 with a single 3/8” wide square cutter.
- Rasps. A 7” Auriou modelers rasp (fine) and a 49 or 50 Nicholson rasp (coarse), plus a rattail rasp.
- Spokeshaves. Stanley no. 151 flat bottom and round bottom styles.
- Hammers. Carpenter’s hammer, and a small cross peen hammer. I use the latter to adjust my wooden planes and also block planes, as the cross peen will get into the throat or underneath the finial easily.
- Brace. A No. 114 Spofford brace
- Jennings bits. A pulled together set from ¼” to 1”.
- Other bits. Screwdriver bits, countersinks, some center points.
- Egg beater drill. Millers Falls type with a wooden handle to hold a selection of small bits.
- Vise. This was my Father’s workshop vise (Columbian). My brother and I were fascinated by it and when Pop was out of the shop we would clamp stuff in it and pound nails into the wood. We could not tighten the clamp enough to hold the stock, so we would pound on the handle with a hammer. Pop would come home and give us a whuppin’ for bending the handle. He would straighten the handle out. The next day, we would do the same again. Never learned. Now I look at that vise and see the handle with all of the curves in it and it brings back good memories.
- Gimlets. For starting screws.
- Screwdrivers. A set of standard and Phillips I bought years ago, put in a drawer and never used.
- Card Scrapers. A simple card scraper, a French curve scraper and a scraper with a slight curvature.
- Cabinet scraper. Kunz No. 80.
- Metal files. A selection of 10” smooth and bastard files, and some smaller shaped files for filing scratch stock.
It’s always fun to read what a wood worker considers the essentials.